
Microsoft Word remains the go-to word processor for millions, and for good reason. Its versatility allows you to create and manage professional documents with ease, thanks to a robust set of features. One of the most essential sections of the ribbon is the Layout menu.
Before diving into complex projects, it’s important to familiarize yourself with how these tools work. Understanding the function of each icon won’t just save you time—it will prevent those frustrating moments of “where is that button?” in the middle of a deadline.
Following my previous guides on the Home, Insert, and Design tabs, today we are going to break down everything you need to know about the Layout Tab.
Understanding the Layout Tab in Microsoft Word
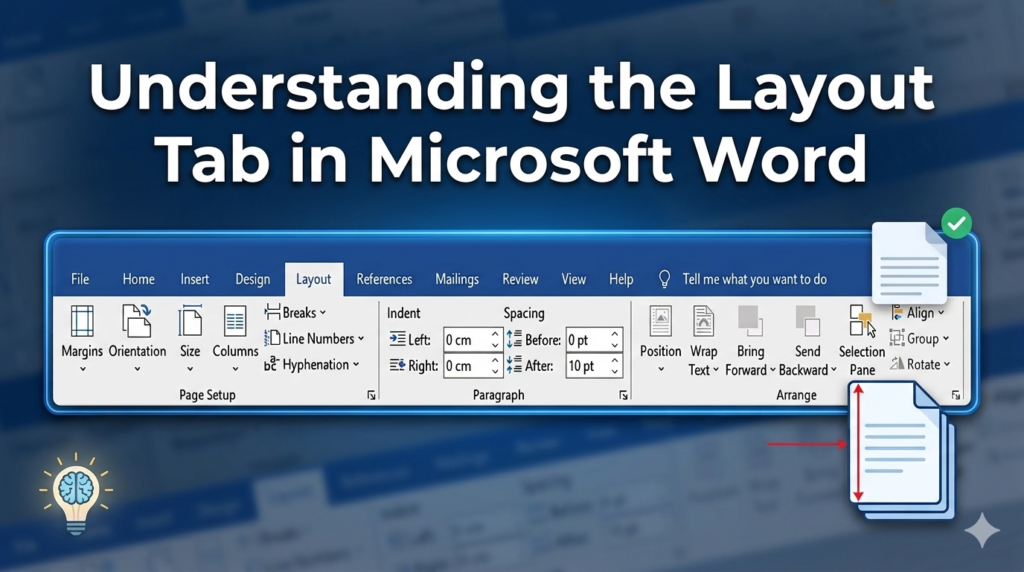
At its core, the Layout tab is your command center for page formatting. This is where you control margins, paper size, orientation, and more. The menu is divided into three primary groups: Page Setup, Paragraph, and Arrange.
Here is a breakdown of the functions available in Microsoft Word (applicable to versions 2007 through 2019 and Microsoft 365):
1. Page Setup Group
This group handles the physical structure of your page.
- Margins: Adjusts the white space around the edges of your document. You can choose from presets or set your own.
- Orientation: Switches your page between Portrait (vertical) and Landscape (horizontal).
- Size: Selects the paper size for your document (e.g., Letter, Legal, or A4).
- Columns: Splits your text into two or more vertical columns—perfect for newsletters or brochures.
- Breaks: Inserts page, section, or column breaks to control where text flows and how different parts of your document are formatted.
- Line Numbers: Adds numbers to the margins next to each line of text, which is often used in legal or academic proofreading.
- Hyphenation: Automatically adds hyphens to words that break at the end of a line, creating a cleaner look for justified text.
2. Paragraph Group
This group focuses on the spacing and alignment of specific blocks of text.
- Indent (Left/Right): Precisely controls how far your paragraph is pushed away from the left or right margins.
- Spacing (Before/After): Adjusts the amount of vertical space that appears above or below a paragraph, helping your text “breathe.”
3. Arrange Group
This group is essential when you are working with images, shapes, or charts.
- Position: Places a selected object (like an image) in a specific spot on the page.
- Wrap Text: Controls how the text flows around an image—whether it wraps tightly, goes behind it, or stays above and below.
- Bring Forward / Send Backward: Adjusts the “layering” of objects. This allows you to stack shapes or move an image behind or in front of another element.
- Selection Pane: Opens a side panel listing every object on your page, making it much easier to select and reorder them.
- Align: Ensures your images or objects are perfectly lined up with the margins or with each other.
- Group: Locks multiple objects together so you can move or format them as a single unit.
- Rotate: Flips or rotates images and shapes to any angle you need.